Pages

Showing posts with label Kentucky. Show all posts

Wednesday, February 15, 2017

Appalachian Word of the Week -- WHATTY-NOTTIES

Whether you call them WHATTY-NOTTIES or whatnots, trinkets, collectibles or even chachkies, every Appalachian home seems to have a generous supply.

A WHATTY-NOTTY is any item you stick on a shelf, in a cabinet, in the corner, on a table, or anywhere else you can find a spot large enough to stuff it and it has no purpose than to sit there and collect dust.

I will never forget my mother getting out on Friday and Saturday mornings to scrounge up and down the hollers to find yard sales so she could acquire more of her precious WHATTY-NOTTIES. No stop was complete unless she found a new treasure. The good news is that they rarely cost more than 25 cents. Although, I did see her spending much more for a particularly fabulous find. Fabulous in her eyes, that is.


One of the benefits of always having a huge supply of WHATTY-NOTTIES is that you have available pickings for a quick gift for a friend or relative.

Whenever we visited Great Aunt Mamie in Lafollette, Tennessee, Mom had to work her way through the house searching for just the right WHATTY-NOTTY to take to her as a gift. From the looks of Aunt Mamie’s house, she had a lot of visitors.

In Mom’s latter years, she attempted to filter out some of the less loved WHATTY-NOTTIES from her minuscule apartment. Problem is, just as she gifted twenty or thirty WHATTY-NOTTIES to friends, or took them to the senior center to be used as Bingo prizes, she would have the opportunity to visit a yard sale or flea market and the shelves would bulge again.

I don’t know if it’s a regional thing that Appalachian women must fill their homes with items most people consider ugly, senseless, and worthless or if it’s a result of being in an economically depressed area. Of course, it could be because women need “things” to feel worthwhile.

Whatever the reason, WHATTY-NOTTIES are here to stay.

Including the WHATTY-NOTTIES we think will increase in value some day...

Why, even some of our favorite restaurants decorate every available spot with WHATTY-NOTTIES, too.


Cracker Barrel


The Bubble Room on Sanibel Island

The Bubble Room on Sanibel Island


I hate to admit it, but I have a “few” WHATTY-NOTTIES in my house as well. However, I have a rule. It only stays if I can sell it to buy food or if I love it so much it makes me smile when I look at it.

So, how many WHATTY-NOTTIES have taken over your house? What’s your favorite? And which one is so ugly you don’t know why you haven’t thrown it away. I would love to see your photos!


Wednesday, February 1, 2017

Appalachian Word of the Week – SLOP JAR


Last week I shared my experiences with the OUTHOUSE in my childhood home of Harlan County, Kentucky. This week I’ll share my acquaintance with the SLOP JAR.


During my visits to relatives’ homes where indoor plumbing had not been introduced yet, the only choices for relieving yourself were visiting the outhouse or the SLOP JAR. The SLOP JAR was preferred by young children and the infirmed. Of course, adults sometimes preferred the SLOP JAR on severe weather days or at night. Outhouses were not a pleasant place to visit in the dark. Actually, they weren’t pleasant to visit on a lovely, sunny day either.

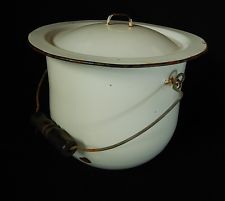
My grandmothers provided a white granite enamelware stock pot for their SLOP JAR.


Some fancier households provided a more decorative CHAMBER POT for their household. No matter what they called it or how pretty it looked, it smelled the same.


Whichever type of SLOP JAR your hostess offered, it was not a fun experience.

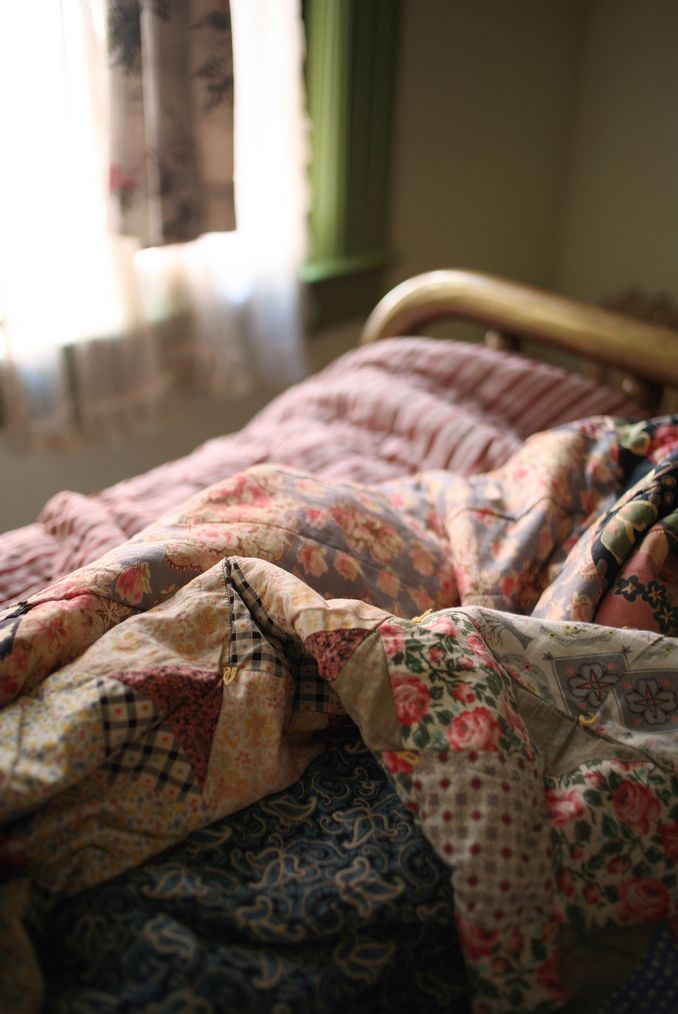
I will never forget the cold winter nights when I stayed at my Granny’s house. Since she only had a fire going in the pot-bellied stove in the front room, the heat didn’t make it back to the bedrooms. I climbed into the cold bed and Granny piled quilt after quilt on top of me to keep me warm.


Those quilts were so heavy I couldn’t move at all. In the middle of the night, when nature called, I had to get desperate before I would attempt to slide out from under those quilts and run to the SLOP JAR.

Man, oh man, those ceramic metal pots were COLD! I hurried as fast as possible and then started the process of trying to slide myself back under those quilts. At least I worked up a sweat in the process.

These days, as an old woman with mobility issues, I would never be able to adequately utilize the SLOP JAR. Even if I got down to it, I would never get up again. Today, I would have to have a SLOP JAR CHAIR.


Funny, but it sort of resembles the chair I had parked next to my hospital bed when I was hooked up to monitors for heart failure and they gave me huge doses of diuretics to remove the fluid around my heart.


We definitely have it good these days with indoor plumbing, electricity, and heat. There’s always something to be thankful for and to be joyful about.


Have you ever had to use a SLOP JAR? What were your experiences? I’d love to hear your stories.

Wednesday, January 25, 2017

Appalachian Word of the Week -- OUTHOUSE


Anybody who grew up during my era should know first hand what an OUTHOUSE is. Even if you have never been privy to one yourself, you have probably heard about them.

Photo courtesy of my friend, Corinne Milwee Farley

I remember in technicolor and smellavision (my word) detail having to traipse down a little path to the outhouse when I visited either of my grandmothers in Harlan County. Mammaw lived up on Pine Mountain, near the Pine Mountain Settlement School, in a house so rustic that the front step was a moss-covered rock.


I dreaded having to “go” in the outhouse. For one thing, the path was narrow, with weeds growing so high and close, you had to push through them. The outhouse was always situated as far from the house as you could get it. I think it had something to do with the odor, especially in the summer heat.

Keeping my eyes on my surroundings was important. In the mountains, there are a lot of snakes. They prefer coiling up on pathways. Kind of like dogs and cats who love to steal your chair when you get up for a moment. Garter snakes and black snakes weren’t much of a problem, but rattlesnakes and copperheads could kill.


I always tried to hold my breath when I went inside to do my duty. Unfortunately, I couldn’t hold my breath long enough.

And then, consider the spiders. They seemed to enjoy hanging out in the outhouse. I reckon spiders and bugs don’t have a sense of smell.

I hate spiders, so I kept the photo small


Job completed, I threw open the door and ran back to the house to wash my hands at the pump, just off the front porch.

Granny had an outhouse, too. She lived at Chevrolet Coal Camp. At least the path was shorter and not quite as weedy as on the mountain where Mammaw lived. Chevrolet was a community of camp houses built by the mine for its workers to rent. The houses were small, but they had electricity.


A coal mining camp with outhouses shared by neighbors

The outhouse, unfortunately, had the same horrendous stink and attracted spiders.

Not all outhouses were alike. Some people got fancy and had a double-seater. I didn’t think that was such a great idea, myself. I mean, I wouldn’t want to sit there with somebody else and bare my bottom as we added to the stink. It would be good to have two different sized holes, though. That way, if you were smaller, you could choose the smaller whole and not have to worry about falling through. Oh, can you imagine?


I’m thankful that my granny offered a roll of toilet paper for her outhouse. The Montgomery Ward catalog didn’t have much absorbency. I also proved to be scratchy on tender skin.

Of course, my choice in outhouses would be bug-free, stinky-free, and have provisions like this one.


Did you grow up using the outhouse? I’d love to hear your memories.

Wednesday, January 18, 2017

Appalachian Word of the Week -- HOECAKES


This week’s word is HOECAKES.


There are several recipes for hoecakes. I’m going to tell you how we made them in my house when I grew up. But first, I’ll tell you a little about the history of HOECAKES.

Every person you ask will probably tell you a different story about how hoecakes came about and what the recipe should be. HOE supposedly is the word for griddle in seventeenth century England where they made flat unleavened bread on a stone or griddle.


Another story comes from the deep south when slaves cooked a cake of meal and water on their hoes in the fields. The recipe for their HOECAKES included meal and water alone. Most experts consider that a rich story, not based on fact. Wish I knew for sure.

It’s also documented that George Washington and his men fed on HOECAKES during the Revolutionary War. Not quite sure who documented it. Believe it if you will. Although it makes sense as something they could easily make and carry with them into battle.

During the Depression Era, a lot of Appalachian recipes had their start. Many recipes varied based on the ingredients they had access to. Most of the time, meal was available when flour was not, so cornbread was born and was made with cornmeal only. As availability increased, the recipes included more palatable ingredients.

The funny thing is that when I was a kid, I thought they were HOPECAKES, not HOECAKES. I know I often hoped my mom would make them instead of a cornpone (we discussed cornpones last week).


The reason I prefer HOECAKES over a cornpone or regular cornbread is that I absolutely could die for the crispy edges of cornbread. When you make HOECAKES, they are thinner and have a crispy edge all the way around. Oh, my, it makes my mouth water to think about them.


My family recipe for HOECAKES is almost exactly like regular cornbread. The one main difference is that the batter needs to be thick enough that the cakes will stay in place while they cook and not spread out in the pan.


Some people make them into pancakes, larger around and flatter, so they can pour butter and pancake syrup over them and eat them with a fork. Others use them to scoop up whatever else is on your plate, like a spoon.


I always loved to nibble around the edges and then put butter on what was left after the awesome crust was eaten.


If you’d like to try some HOECAKES yourself, here’s a recipe.


Stone-ground, cold-milled grain is best for any kind of cornbread. We always used white cornmeal, but yellow will do in a pinch.


1/2 c corn meal
1/2 c flour
1 egg
1 Tbsp melted bacon grease or butter
1/2 c buttermilk, maybe a little more if needed

(Some people use self-rising flour and meal. We didn’t.)

Mix the dry ingredients and add the liquids. Stir with a fork just till it’s mixed.

Heat your skillet (iron skillet is best, but heavy non-stick will do)

Add bacon grease or butter. Put plenty in the pan so the sides of your HOECAKES can get nice and crispy as they cook.

Fry until they are golden brown on both sides (just a few minutes on each side, according to how thick you made yours)


I can smell them cooking right now in my memory.

Add some fried chicken, frog legs, or catfish with soup beans, green onions, and a sliced mator (tomato) and you’ll be in heaven.

Have you cooked or eaten HOECAKES? What’s your family’s recipe?


Wednesday, January 11, 2017

Appalachian Word of the Week -- CORNPONE

This week's word is sure to make your mouth water. A CORNPONE is how we refer to a pan of cornbread.


Now, in the mountains, we don’t make our cornbread like the Yankees do. They use yellow cornmeal instead of our mill-ground white cornmeal and add sugar to it. It may taste good for dessert, but our cornbread goes with the main meal. Or IS the meal for some of us. Adding sugar to cornbread is like adding sugar to grits. Yuck.


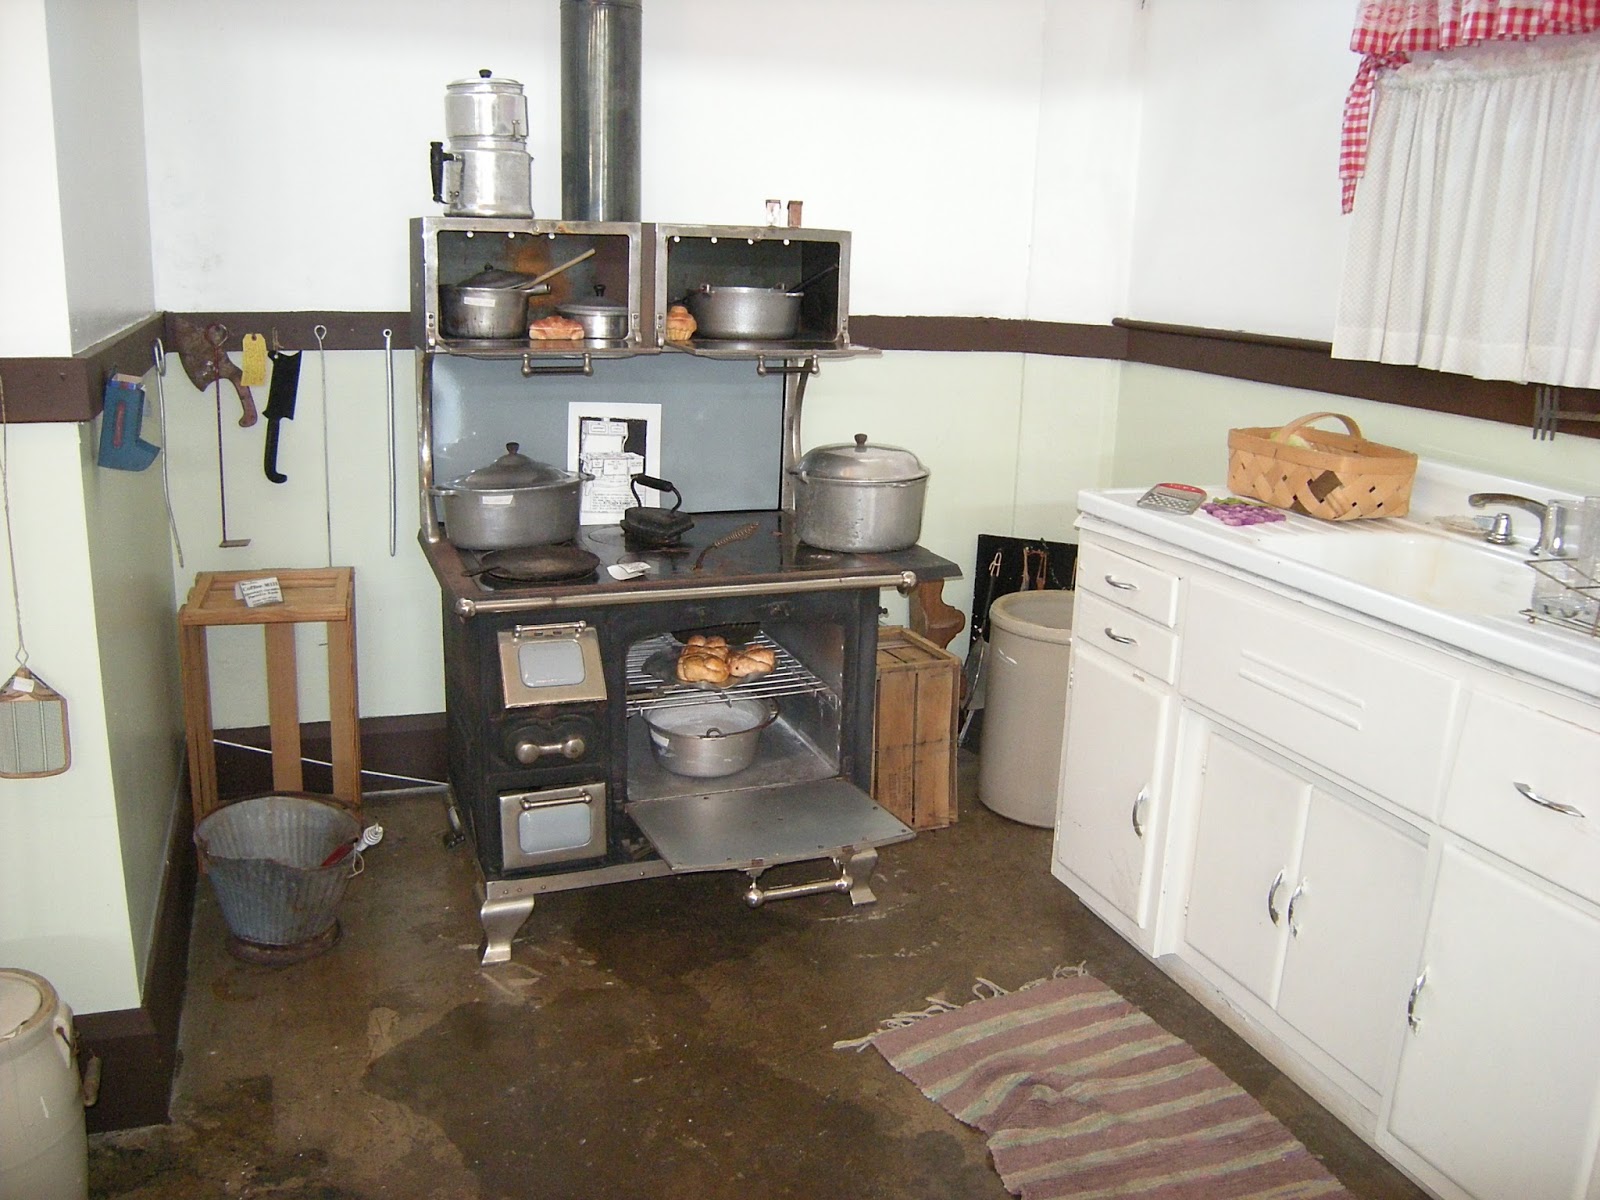
Nothing beats my granny’s cornbread, baked in her iron skillet in her coal-fired cook stove. But, it’s passable to use a modern oven or even cook it on top of the stove. You must, however, use an iron skillet if you want to make it more authentic.

Photo taken at the Kentucky Coal Mining Museum in Benham, KY


Here’s my granny’s recipe:

Put some bacon grease (or butter, if you don’t keep your bacon grease for cooking) in the bottom of your skillet (black, iron skillet) and put it in the oven (set to 400 if you’re using a modern stove) to heat up while you mix your ingredients.


Put some self-rising flour and a little less meal in a bowl. Add a pinch of salt and an egg. Stir in just enough buttermilk to make a thick batter. Just stir it enough to get the lumps out, don’t over-stir it. (Granny never measured. She used her eye to make sure it looked right.)


Take the heated skillet out of the oven and pour the heated bacon grease (or butter) right into the mixture and mix it in. She also melted a couple of tablespoons of bacon grease or butter and put it right on top after she put the mixture into the skillet. Bake it until it’s golden brown (Start eyeing it after about 25 minutes).


If you need a more detailed recipe, you can try this one:

2 cups of cornmeal
½ teaspoon baking powder
½ teaspoon baking soda
¼ teaspoon of table salt (a pinch)
1 large egg
1 ¼ to 1 ½ cups of buttermilk
2 tablespoons of bacon grease for batter, plus 3 for the skillet

Preheat oven to 400°.
Add 2 or 3 tablespoons of bacon grease to your iron skillet and put in the oven, set to 400.
In a large mixing bowl, add all the dry ingredients. Stir.
Add egg. Then add 1 1/4 cups of buttermilk, but if it seems too dry I add another 1/4 cup. Stir sparingly. Batter should be moist, not runny like pancakes. If it looks too wet add just a little more cornmeal.
When the skillet is good and hot, remove it from oven with a good thick pot holder. Add the melted bacon grease/butter to the batter and stir just enough to mix it in. Add batter to the skillet and stick it in the oven.
Bake until the edges turn golden brown (Check after about 25 minutes. Don’t go past 35 minutes or you might burn the bottom. If you’re not sure if it’s done, stick a toothpick in it like you would a cake.
Make sure you use that potholder when you remove it from the oven. Iron skillets get really hot! And they’re heavy.

If you want to fancy up your CORNPONE, there are a few common ingredients you can add.
CORN – Drain a can of corn (or some of your own canned corn) and add it to the mix. Make sure you don’t get too much juice in it or it will be too runny. If you want to add creamed corn, back off on the buttermilk a bit.


CRACKLINS – You may be wondering what a cracklin is. It’s the fried skin of a pig, after the lard is rendered from it. Adds a tasty excitement to your CORNPONE.

A cornpone with cracklins

 CHITLINS – Chitlins (Chitterlings) come from pigs, too. Before you get too grossed out, remember that sausages are made by squeezing the sausage meat into a pig’s intestine. Didn’t know you’d been eating them for years, did you? But, chitlins are cleaned thoroughly and then cooked. Mighty tasty, if you can stomach it.


 ACCOMPANIMENTS WITH YOUR CORNPONE:

My favorite way to eat cornbread as a child was crumbled into a glass of buttermilk. My dad and I loved having it for breakfast or a late-night snack.


Other things that just seem to belong on a plate with a chunk of cornbread are soup beans, tomatoes from the garden, green onions, any kind of soup, and fried chicken.

Of course, no piece of cornbread from your CORNPONE is complete without a slathering of fresh cow’s butter.
I would open it up, piping hot from the oven, and add a bit more butter

Are you hungry yet? Have you ever made a CORNPONE? If not, it’s not too late.

Thursday, December 29, 2016

Appalachian Word of the Week -- BALONEY SALAD


Of all the food I enjoyed eating around the Christmas season, the one that holds the sweetest memories for me is BALONEY SALAD sandwiches.


Every Christmas Eve, Granny would make a batch large enough to feed Harlan County for our party at her house. I could hardly wait to sink my teeth into a few of them.

BALONEY SALAD is the poor man’s ham.  At least that’s what my family said.


Here’s the recipe:

1 big log of baloney
Boiled eggs (About 4, according to size of batch)
Sweet gherkins, diced tiny
Mayonnaise (Granny used Miracle Whip)


Fitted to Granny’s kitchen table was a metal meat grinder. She peeled and cut the baloney into large chunks and fed it through the grinder. It came out into a big mixing bowl, looking like baloney spaghetti.


Then she fed the boiled eggs through the grinder, according to how much she was making.


Next, she chopped up her gherkins into tiny little bits and added them to the mixture. Mayo came last. Then she stirred it all up together until it became BALONEY SALAD.


Sometimes I got to help with the process. She especially let me help spread the salad onto fresh white Bunny Bread. That fresh, soft bread was the best in the world.


The sandwiches were sliced into two and then placed on platters, covered with foil or Saran Wrap, and then plopped them into the fridge until the party.


When the family arrived and the party was on the way, everyone dived into those BALONEY SALAD SANDWICHES as if they hadn’t eaten anything since Thanksgiving. There was rarely a morsel left at the end of the night.


Yes, those sandwiches still bring a smile to my face when I think about them. As I get older, I realize how special growing up in the mountains truly was. We didn’t have much, but we were abundantly wealthy. Wealth should be measured by your attitude toward your blessings.

As we near the time when we are expected to make resolutions for the new year, how about we look back on our lives and choose to find the blessings in even the smallest of things? I think it could add a lot of joy to our lives in the midst of such suffering and negativity continually being thrown at us.


What’s one memory from 2016 that you count as a blessing?

Wednesday, December 21, 2016

Appalachian Word of the Week -- SNOWCREAM

My childhood front yard

The appropriate word for the week, considering this is the first day of Winter, is one of my favorites -- SNOWCREAM!


As a youngster in the mountains of Harlan County, KY, I lived for the days when a massive snow covered the landscape. Not only did I enjoy playing in the snow, sliding down the mountainside in a saucer sled, and building a snow fort with my brother, but I loved making SNOWCREAM.


Of course, the process of making SNOWCREAM required us to collect fresh, clean (emphasis on clean) snow before anyone got outside and dirtied it up.


We gathered up all the largest pots and bowls from the kitchen and headed outside.


Now, there is a process to gathering snow. Since almost everybody around us heated their houses with coal, we had to first rake off the top layer of snow to remove the black spots of ash that had dropped onto the top layer. That completed, we began scooping snow into our bowls and pots.


Of course, we made sure not to scoop too close to the ground. Lots of dogs and wild animals used the ground for a litter box, so we made sure to avoid any yellow or brown snow. We also didn't want to get grass trimmings in our snow.


After gathering up all of our bowls and pots, we carried it inside to Mom, who was waiting with the bag of sugar, can of cream, vanilla flavoring and the salt box. She also had the hand mixer ready to get the job done faster.


She took the largest bowl and checked to make sure it was clean snow. Then she added about a cup of sugar and started mixing. Then she added pure cream out of the can. Some people make it with milk, but the flavor is nowhere near as good. Then she added vanilla flavoring and a pinch of salt. As the snow melted down, she scooped in more snow and the process continued until every bowl and pot of snow had been added to the mixture. She continued to add sugar and cream until the concoction was perfect and creamy.


She scooped out a bowl of snowcream for each of us and then put the main bowl into smaller bowls that would fit into the freezer for later.


Oh, what JOY to sit in front of the coal stove and eat that snowcream! Our fingers were numb and so were our lips, but we didn't care. It was glorious.


As we made our way through the main bowls of snowcream stored in the freezer, we sometimes added a bit of flavor to the mix. A favorite was Nehi Grape pop. We also tried peach pop, strawberry pop, or chocolate pop. If you don't know what pop is, you may call it soda or soft drink. Back in my day, we had some wonderful flavors available.


So, if you are fortunate enough to get a big snow where you live, why not give it a try and make some SNOWCREAM for yourself? Just make sure you watch out for yellow or brown snow.


Exact recipes don't work for our snowcream. You have to go by taste. If the mix is too sweet, add some snow. If it's not sweet enough, add more sugar. If it's not creamy enough, add more cream. You get the picture.


Have you ever eaten SNOWCREAM? Tell me about your experience.

Wednesday, December 14, 2016

Appalachian Word of the Week - SWEET PILLS

Appalachian Word of the Week – SWEET PILLS

I’m going to do something a little different this week. Instead of one word, I’m going to describe two words. SWEET PILLS

Not everybody called them that, but my mom and granny always used the term SWEET PILLS to describe all those luscious sweet confections we only got to eat during the Christmas season.

My all-time favorite is the FRUITCAKE.

Now, this isn’t the kind of fruitcake of jokes. Mom’s fruitcake was moist, spicy cake with candied fruit, raisins, and black walnuts. The best part of the cake was the top and the edge. Oh, my goodness, the chewiness made it heavenly. Nothing else compares. I truly miss those cakes.


Mom always hid the cakes, wrapped in tinfoil, somewhere in her bedroom. She doled out tiny slices only when she wanted to share. It nearly drove me crazy waiting for her to be in the mood to be generous.


Another popular treat in my house was FUDGE made from marshmallow cream. Mom wasn’t the greatest cook in the world, but she was a master fudge maker.  She generally made two large batches—one was plain and the other had English walnuts in it.


She poured the melted, creamy mixture into large platters. When it hardened, she sliced it into pieces. Most of the candy was hidden away like the fruitcake, but she usually left the smallest plate of fudge on the kitchen table for us to nibble on. I had a hard time staying out of the kitchen.


And then there was the APPLE STACK CAKE. The batter for this cake is totally different from most cakes. It is thicker consistency and you spread a thin layer into round pans to bake. It took forever, it seemed, because Mom only had two round pans. The first two layers had to cool enough to be removed safely before she could use the pans again to bake the next two layers.

Special thanks to Lady Behind the Curtain for the photo


While she waited between layers, she made the filling. After every layer had cooled, the cake was built by placing a layer, spooning on some of the apple mixture, and then the next layer, until it was completed.


My granny always made a BLACKBERRY JAM CAKE. It wasn’t my favorite because it was so sweet it gave me a tummy ache. I much preferred fruitcake. Her cake was quite popular with all the other houseguests, though.


One thing mountain women do at Christmas when they bake up a storm is to share. I remember my mom wrapping up pieces of cake or candy in tinfoil and then Christmas paper and tying it up with ribbon. She then dispersed her gifts to special people in the community. I remember her giving some to our garbage man, too.

If you’d like to try one of our mountain SWEET PILLS, I’ve given you the recipes from family files. Enjoy. Next week, I’ll tell you about another treat we only got to eat in winter.

Do you have any favorite SWEET PILLS from your mom or grandmother? I'd love to hear about them and where they originated.

RECIPES

MOM’S FRUITCAKE

2 ½ cups flour
2 cups sugar
1 ½ tsp soda
1 ½ tsp salt
¼ tsp baking powder
1 tsp cinnamon (or more)
1 tsp cloves (or more)
½ tsp allspice
1 ½ cups applesauce (a little extra helps make it moister)
½ cup water
½ cup shortening/butter
2 eggs
1 cup raisins (soaked in warm water and then drained)
½ chopped walnuts (add more) English or black
Mixed candied fruit

Heat oven to 350
Grease and flour baking pan
Measure all ingredients into large bowls (separate bowls for wet and dry ingredients) 
Alternate dry/wet/applesauce, then mix
Add fruit, nuts, raisins and blend ½ minute on low speed, scraping bowl occasionally
Pour into pan (preferably an angel food pan)
Bake 60-65 minutes
If doing layers, bake for 50 minutes
Cool before removing from pan.

MOM’S APPLE STACK CAKE
Ingredients for the Cake:

5 1/4 cups all-purpose flour like White Lily or a cake flour
1/2 teaspoon baking soda
1 teaspoon baking powder
1/2 to 1 teaspoon salt
1 teaspoon ground cinnamon or ground ginger
2 1/2 cups firmly packed brown sugar (or 1 cup brown sugar and 1 cup molasses or sorghum)
1 cup butter
2 large eggs, beaten
2 teaspoons vanilla extract
1/2 cup buttermilk
Directions for cake:

1. HEAT oven to 425°F.
2. “Grease and flour” seven (7) 9-inch round pans or line the pans with parchment paper or use a no-stick flour cooking spray
3. Combine flour, baking soda, baking powder, salt, and cinnamon in a large bowl; set aside
4. Beat the brown sugar and butter in a large bowl until light and fluffy.
5. Beat in eggs and vanilla
6. Add flour mixture alternately with milk, beating after each addition until just combined
7. Divide dough into seven portions of about ¾ cup each.
8. With floured hands, pat dough into prepared pans.
9. Bake about 10 minutes or until golden crust forms.
10. Remove from pan and place on a wire rack

Ingredients for the dried apple filling:

5 cups water
1 pound dried apples
1 cup firmly packed brown sugar
1 to 2 teaspoons ground cinnamon
½ to 1 teaspoon ground nutmeg or all spice
¼ to ½ teaspoon ground cloves
1/4 teaspoon salt

Instructions for Assembling the Cake:

1. Place one cake layer on a large, flat plate or cake plate.
2. Smooth an even amount of hot dried apple filling on top of the one cake layer.
3. Add the second cake layer onto the dried apple filling.
4. Put the dried apple filling on top of the second layer.
5. Repeat until all seven layers are stacked one on top another BUT do not put the apple filling on the top layer.
6. Cover the cake and place in the refrigerator (or cool place) for 24 to 48 hours.

GRANNY’S BLACKBERRY JAM CAKE

For the cake:
2 sticks (1 cup) unsalted butter
2 cups sugar
5 large eggs, beaten
3 cups plus 1 tablespoon sifted all-purpose flour
1 1/2 teaspoons allspice
1 1/2 teaspoons ground cloves
1/2 teaspoon cinnamon
1/4 teaspoon salt
1 cup buttermilk
1 teaspoon baking soda
1 cup chopped raisins or dates
1 cup chopped pecans (or walnuts)
1 cup seedless blackberry jam
For the icing
3 cups light brown sugar
1 cup evaporated milk
1 stick (1/2 cup) unsalted butter

 PREPARATION
Make the cake:

In a large bowl with an electric mixer cream together the butter and the sugar until the mixture is light and fluffy. Add the eggs and combine the mixture well. Into a bowl sift together 3 cups of the flour, the allspice, the cloves, the cinnamon, and the salt.

In another bowl combine the buttermilk and the baking soda. Add the flour mixture to the butter mixture in batches alternately with the buttermilk mixture, beating well after each addition. In a bowl, toss together the raisins, the nuts, and the remaining 1 tablespoon flour and stir the mixture into the batter with the jam, stirring until the mixture is combined well.

Line the bottoms of 2 buttered 9-inch cake pans with wax paper and butter the paper. Pour the batter into the pans and bake the layers in the middle of a preheated 325°F. oven for 40 minutes, or until a tester comes out clean. Let the layers cool in the pans on a rack for 15 minutes, invert them onto the rack, and let the layers cool completely.

Make the icing:
In a saucepan combine the brown sugar, the evaporated milk, and the butter, cook the mixture over moderately low heat, stirring, until the sugar is dissolved, and cook it, undisturbed, washing down any sugar crystals clinging to the side of the pan with a brush dipped in cold water, until it registers 238°F. on a candy thermometer. Transfer the mixture to a bowl and beat it until it is of spreading consistency. If the icing gets too hard to spread, dip the icing spatula in hot water.

Transfer one of the layers, bottom up, to a cake plate, frost the top with the icing, and top it with the remaining layer, bottom down. Frost the top and sides with the icing.

MOM’S MARSHMALLOW CREAM FUDGE